
Complete Guide on Cutting, Connecting, and Setting Up LED Sheets
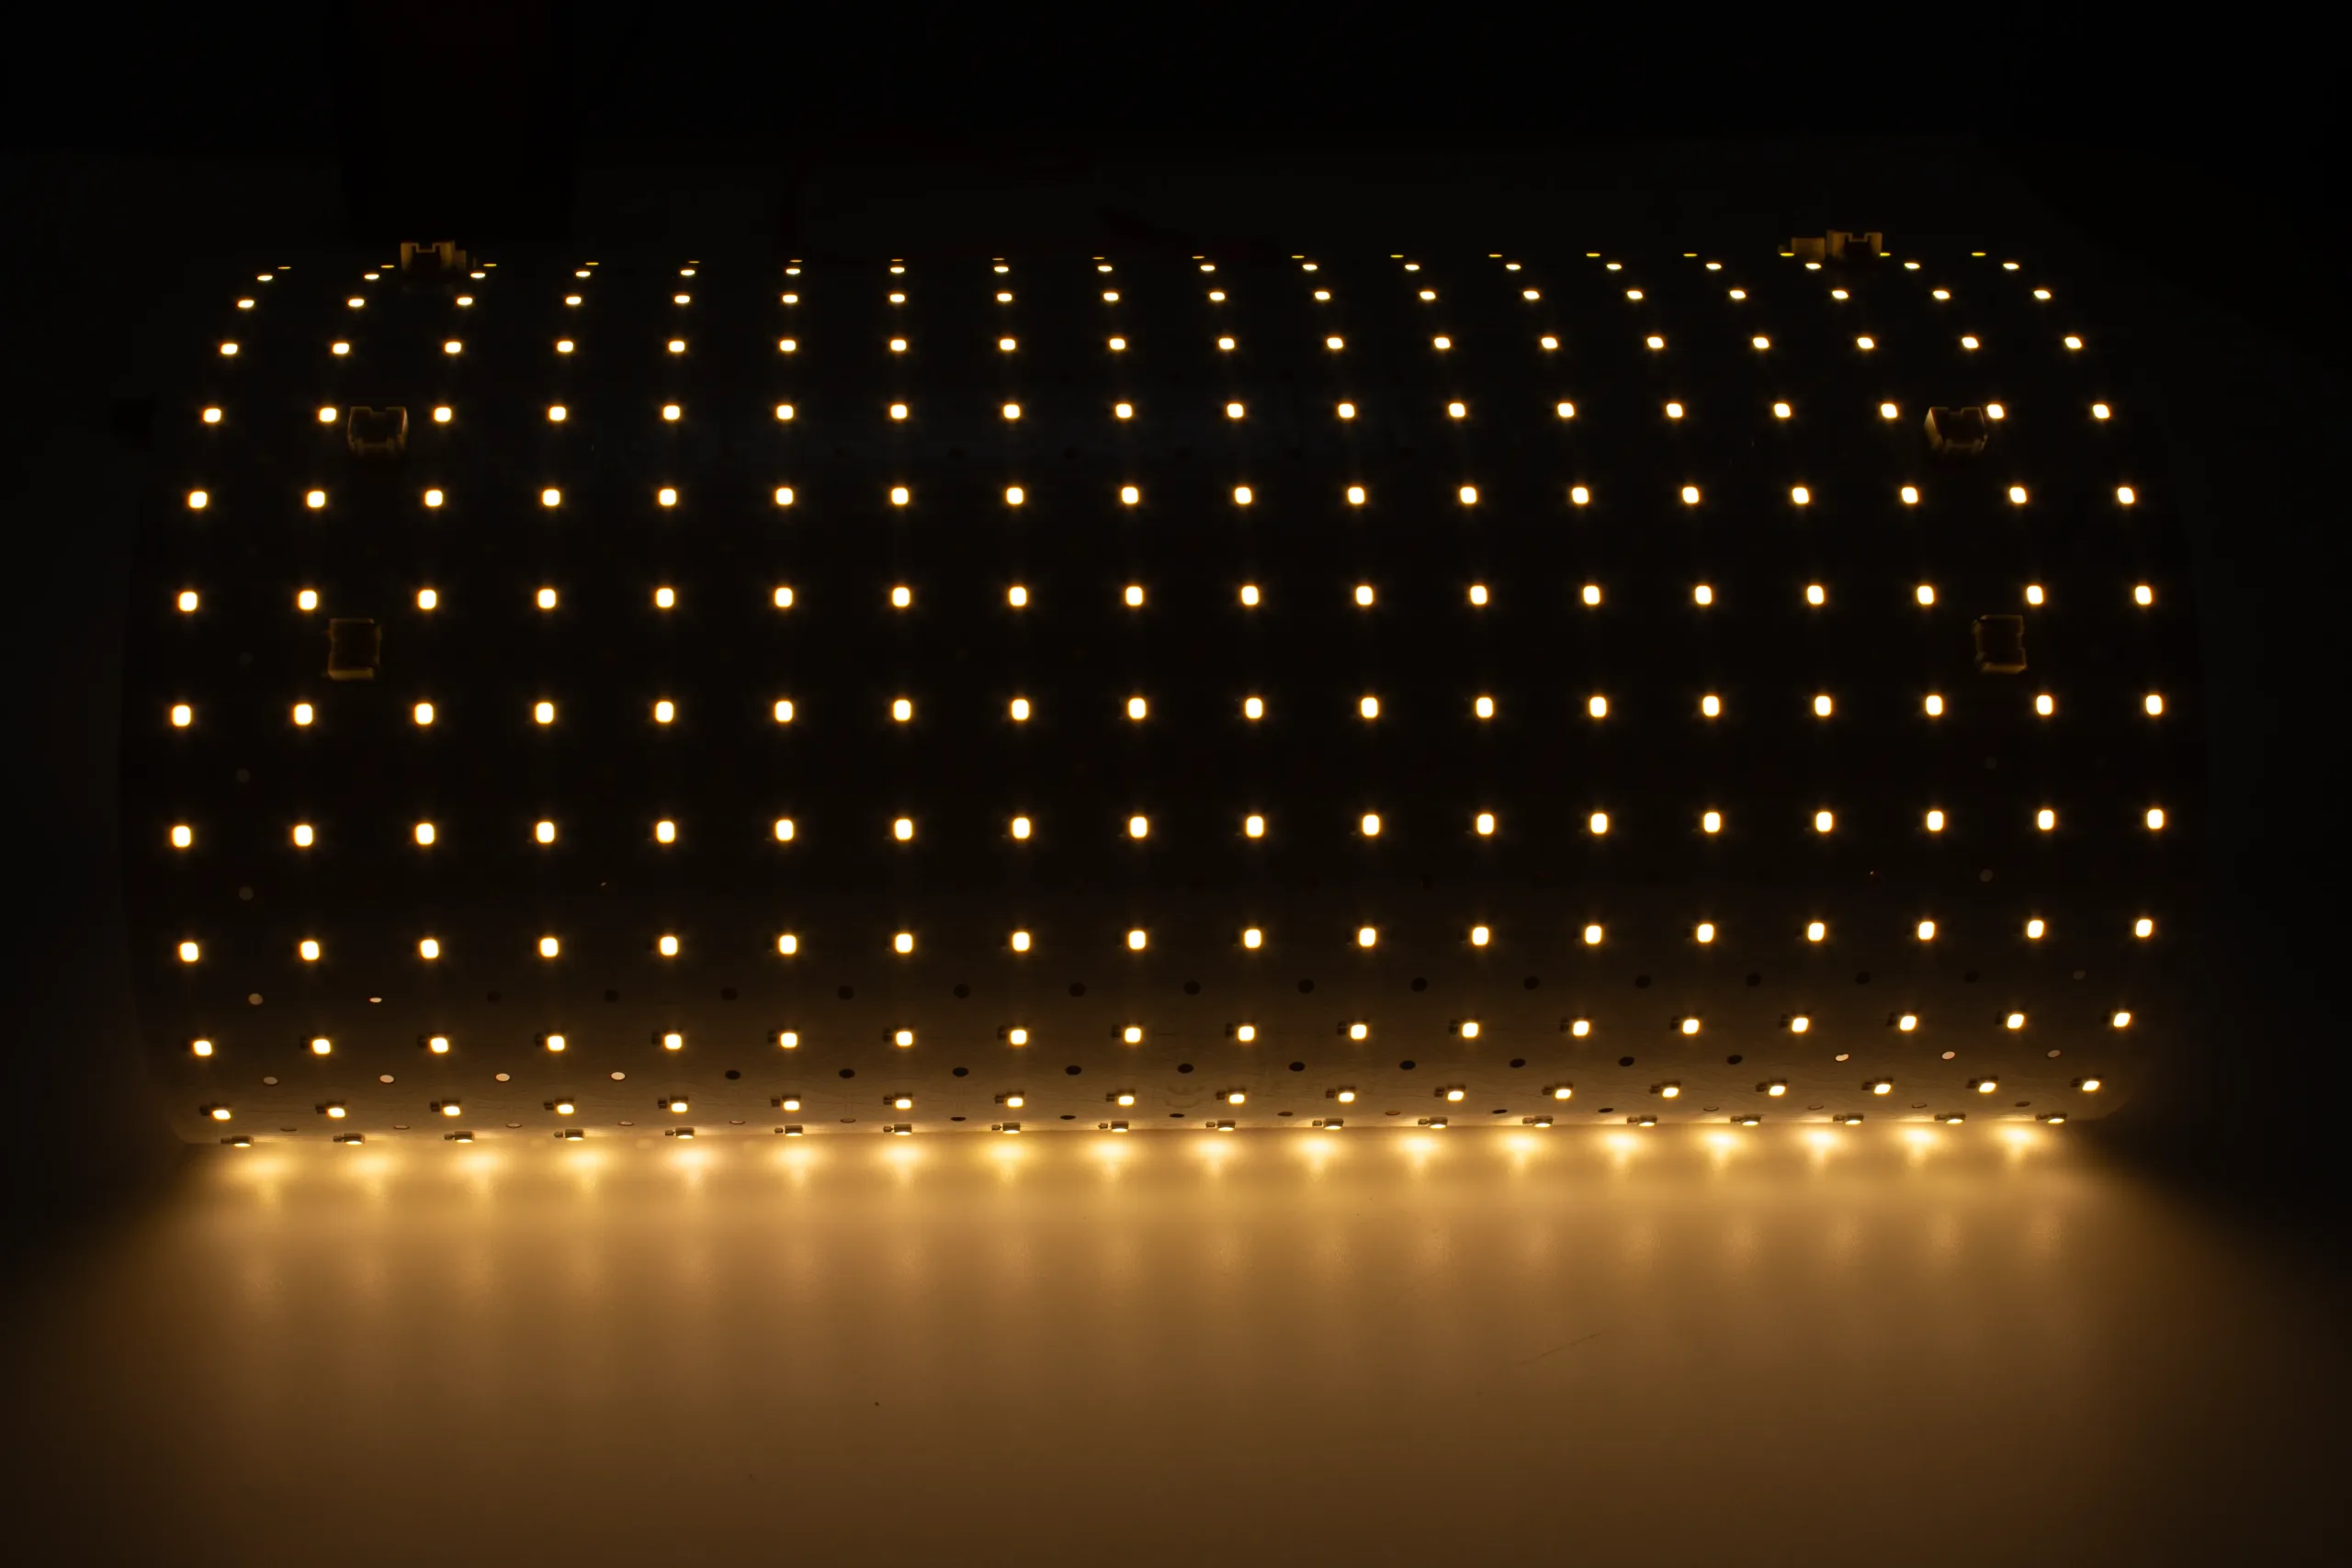
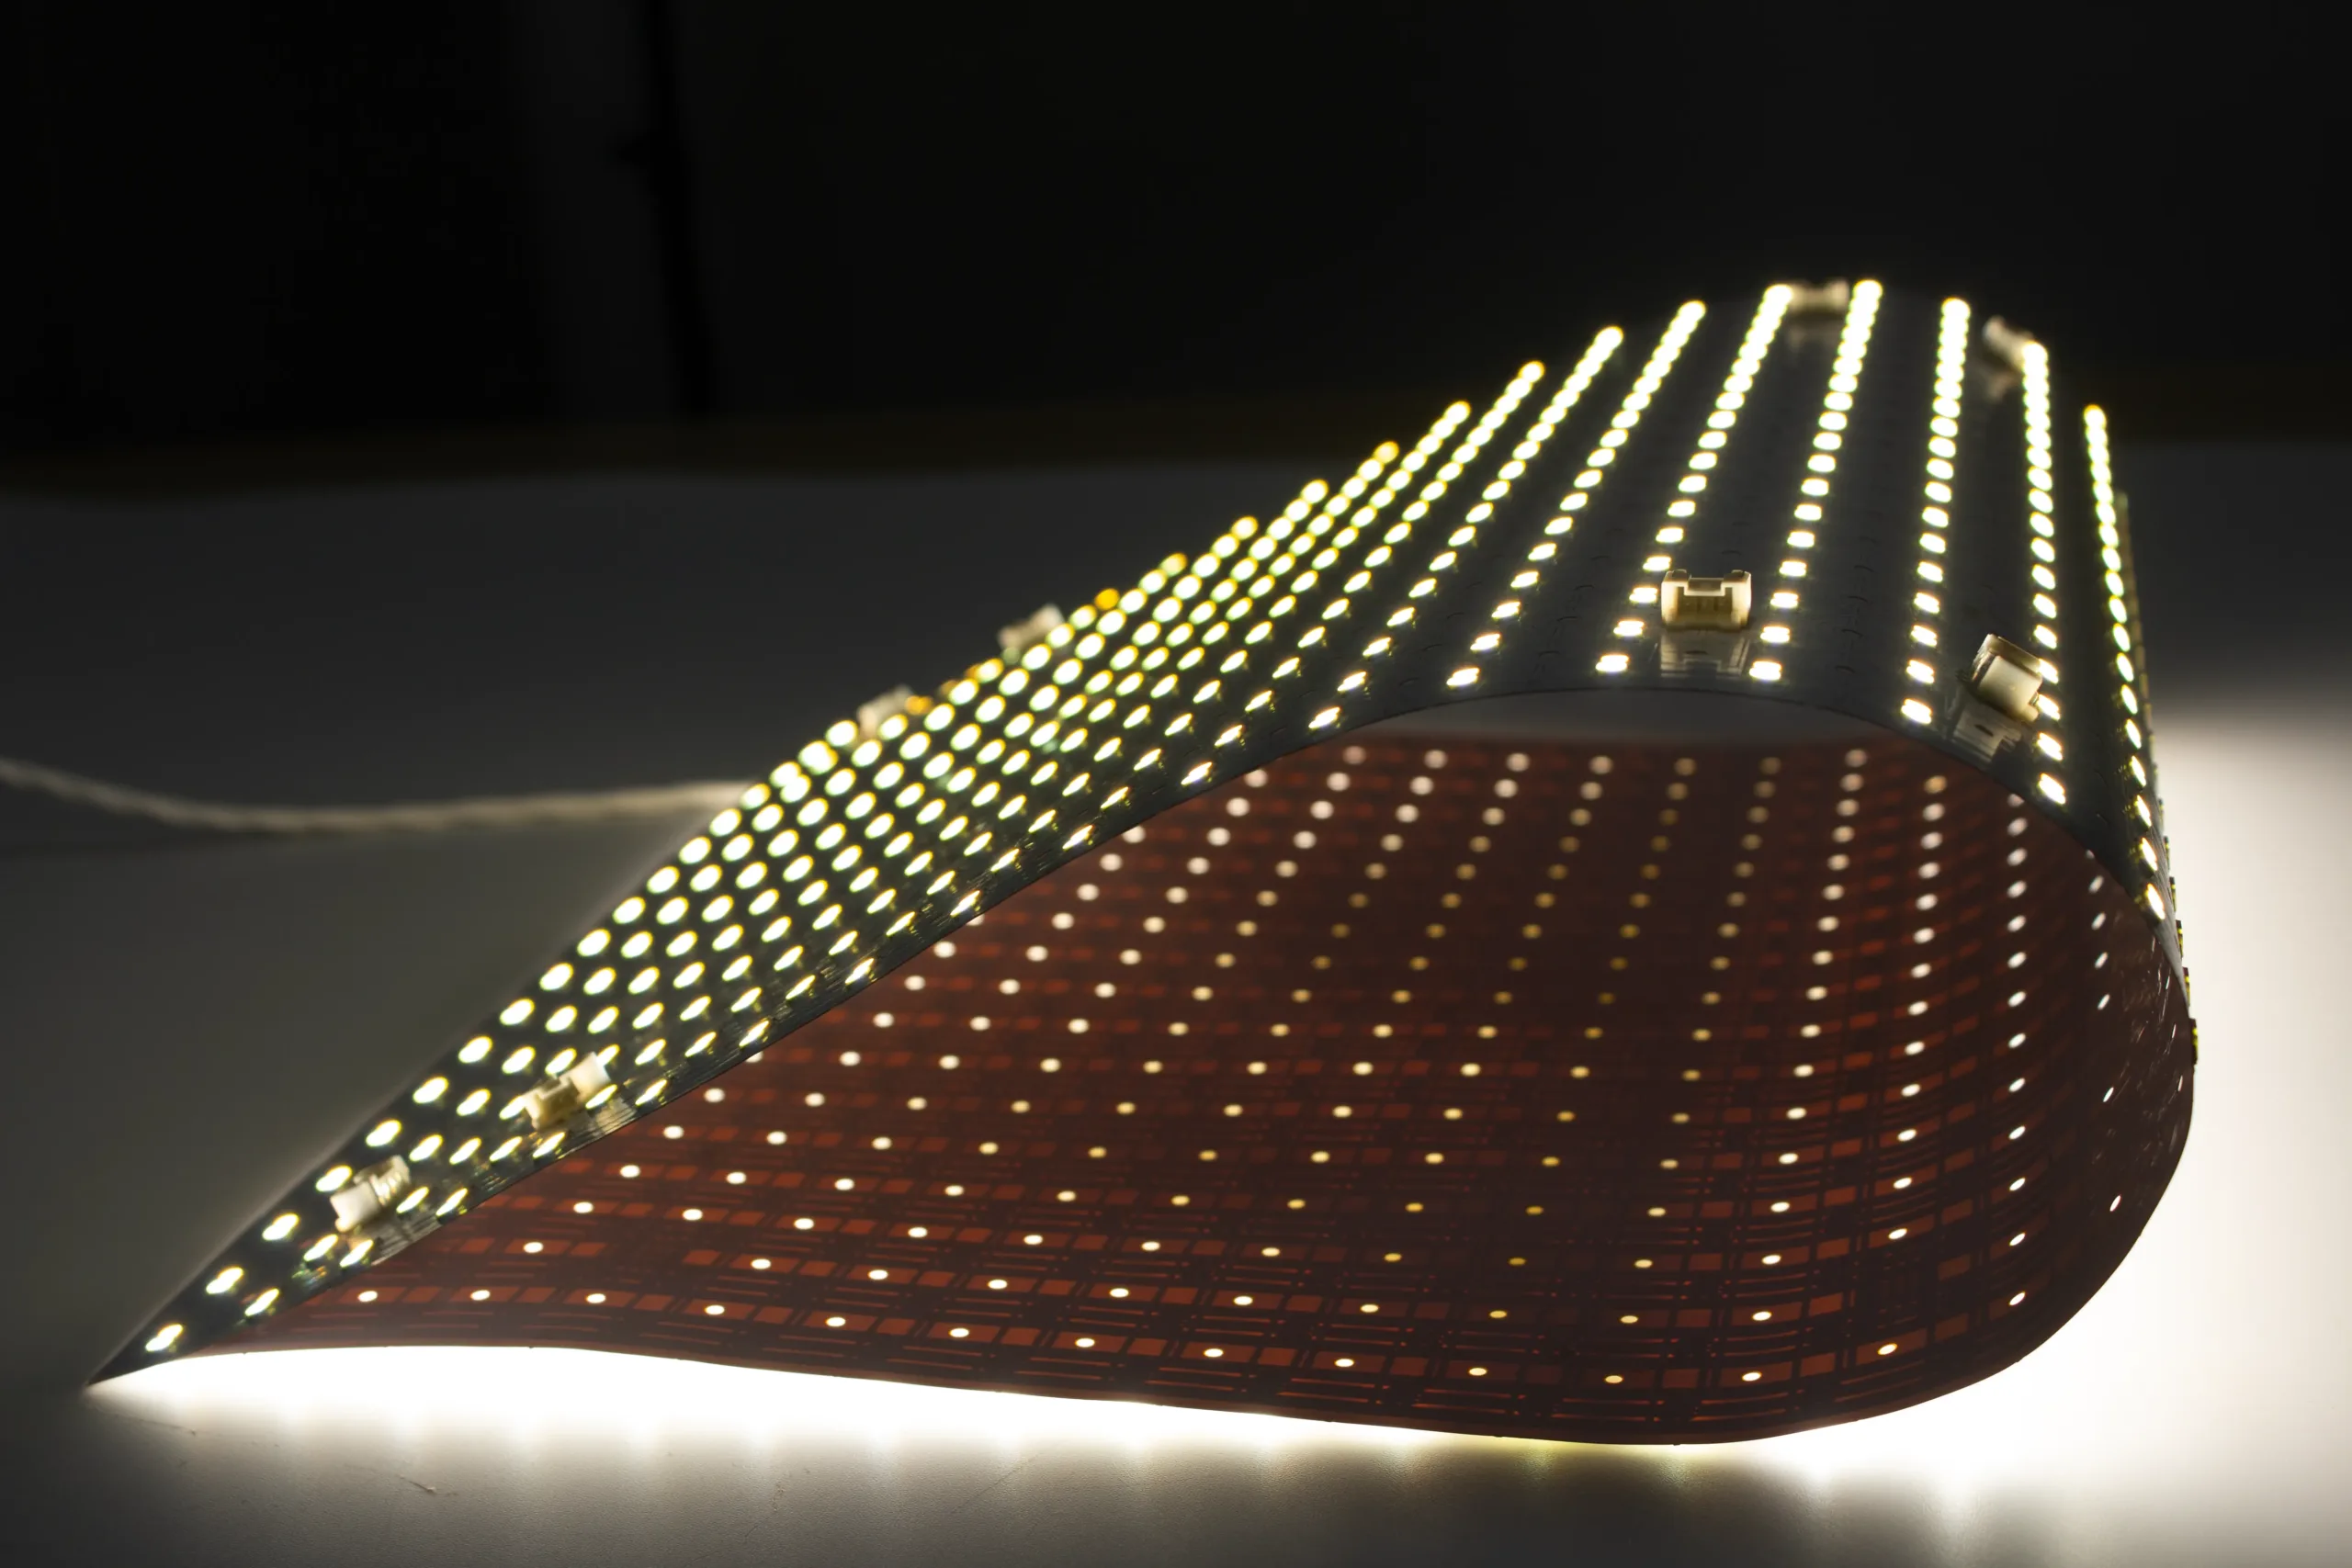
This step-by-step guide shows how to install LED sheets—also known as flexible LED sheets or cuttable LED sheets. Whether for signage backlighting, architectural accents, or custom lighting projects, following these steps ensures safe, reliable, and professional results.
Tools & Materials for Installing Flexible LED Sheets
Before you begin, gather the essentials:
- Cutting tools: utility knife, sharp scissors, or CNC rotary cutter for precision.
- Wiring tools: wire strippers, soldering iron, screwdriver, and multimeter.
- Materials: flexible LED sheet, low-voltage (12V or 24V) power supply, connectors (solder or snap-on), wires, and mounting accessories (adhesive, clips, or magnets).
Identifying Safe Cutting Points on LED Sheets
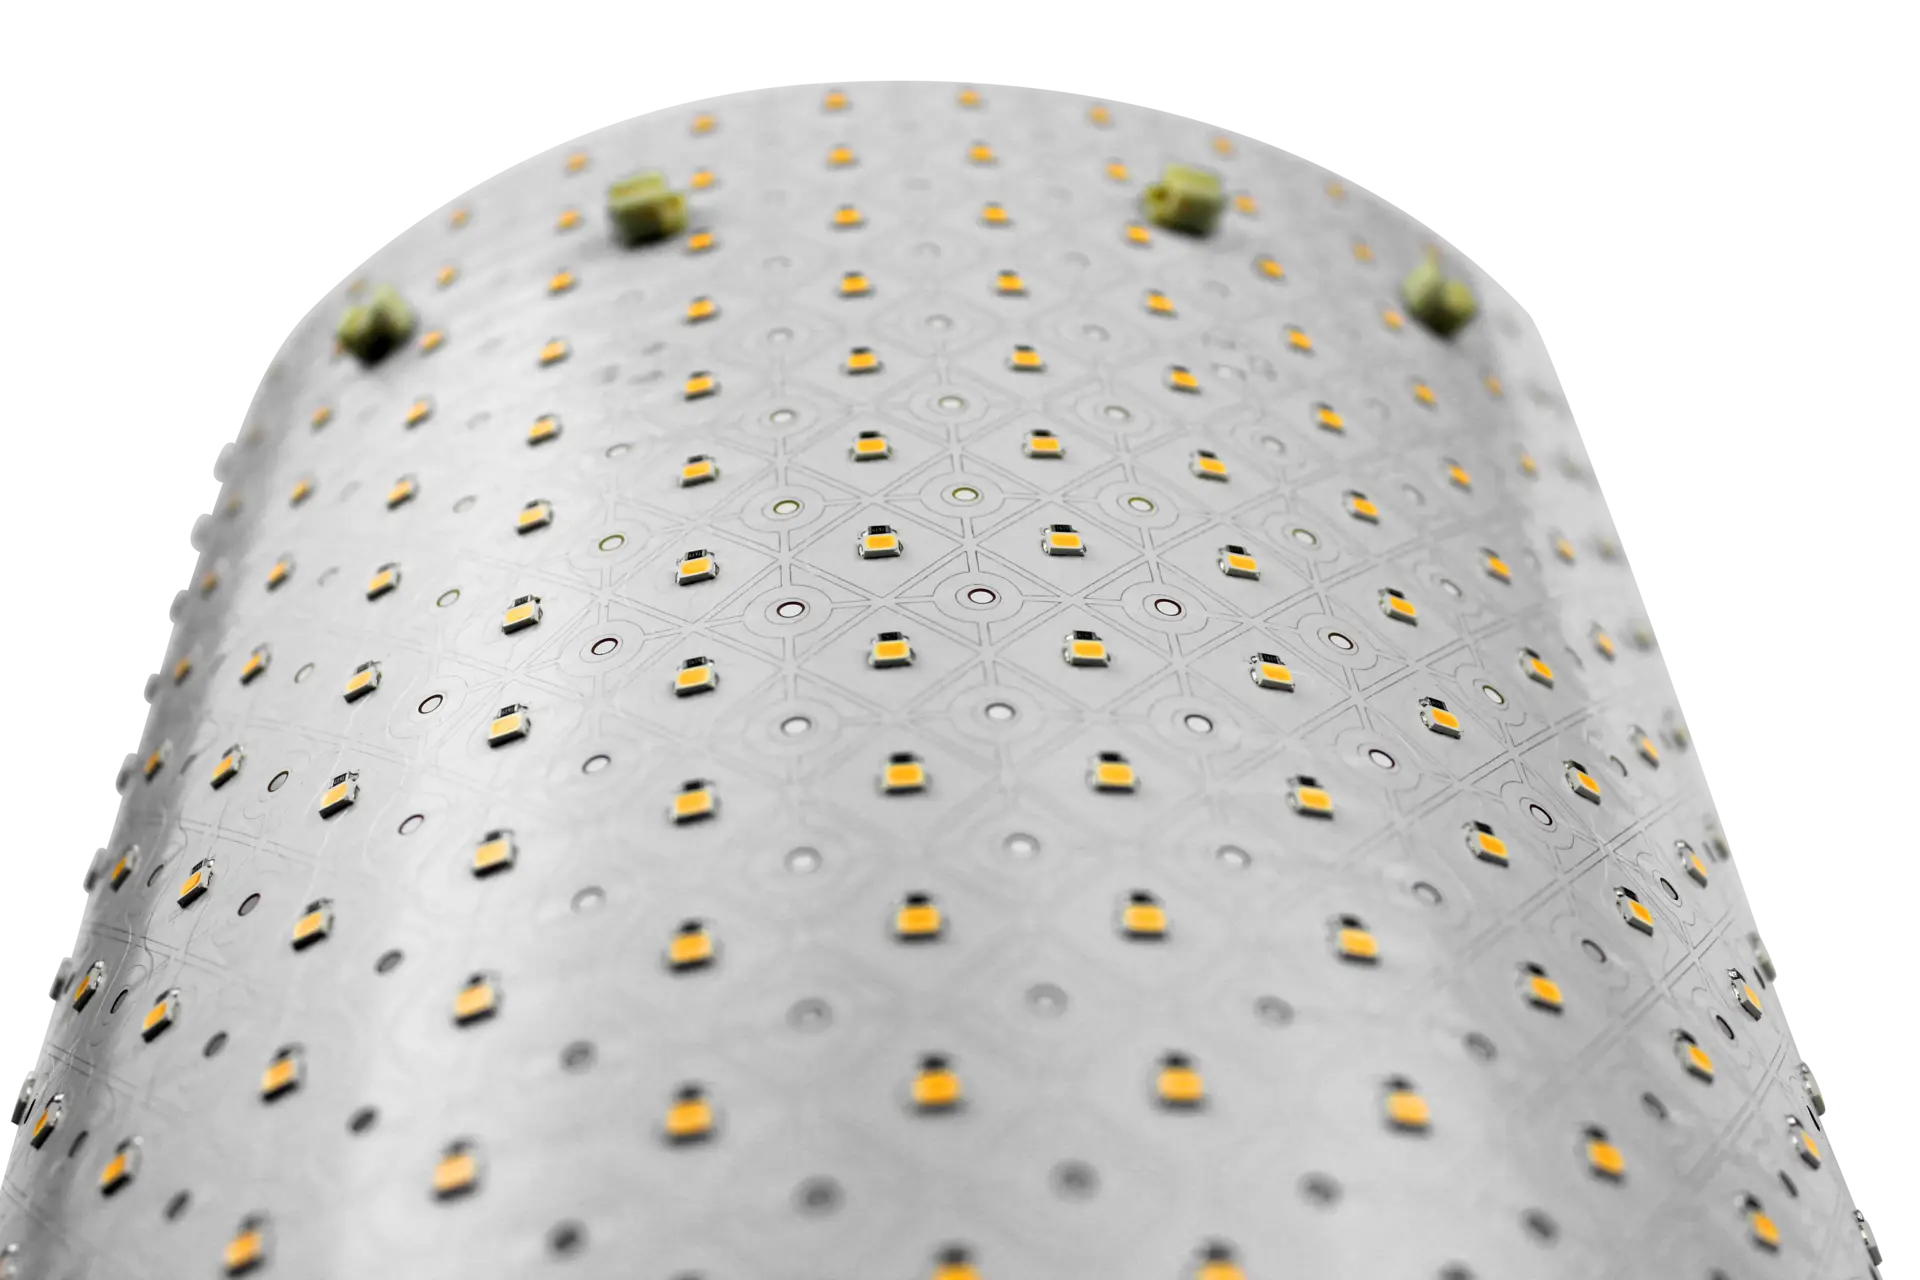
Most cuttable LED sheets include pre-marked cutting lines (scissor icons or dashed grid lines). Always cut along these approved points to preserve circuit integrity. Never cut across LED chips or copper traces.
How to Cut LED Sheets (Standard & Precision Methods)
- Place the sheet on a solid surface.
- Cut along the pre-marked lines with scissors or a sharp knife.
- For unique shapes or larger sections, use precision tools (rotary cutters, CNC) to maintain clean edges.
* Tip: Wear gloves for safety and to prevent damage.
Connecting LED Sheets – Snap-On vs Soldering
Option 1: Snap-On Connectors
Quick and solder-free. Align copper pads with the connector, insert the sheet, and clamp down. Best for temporary or DIY installs.
Option 2: Soldering
For permanent, durable connections:
- Strip wires (red = +, black = –).
- Apply solder to copper pads and wires.
- Match polarity carefully.
- Let cool before powering.
Perfect for outdoor use, large arrays, or long-term projects.
Powering LED Sheets Safely (12V & 24V)
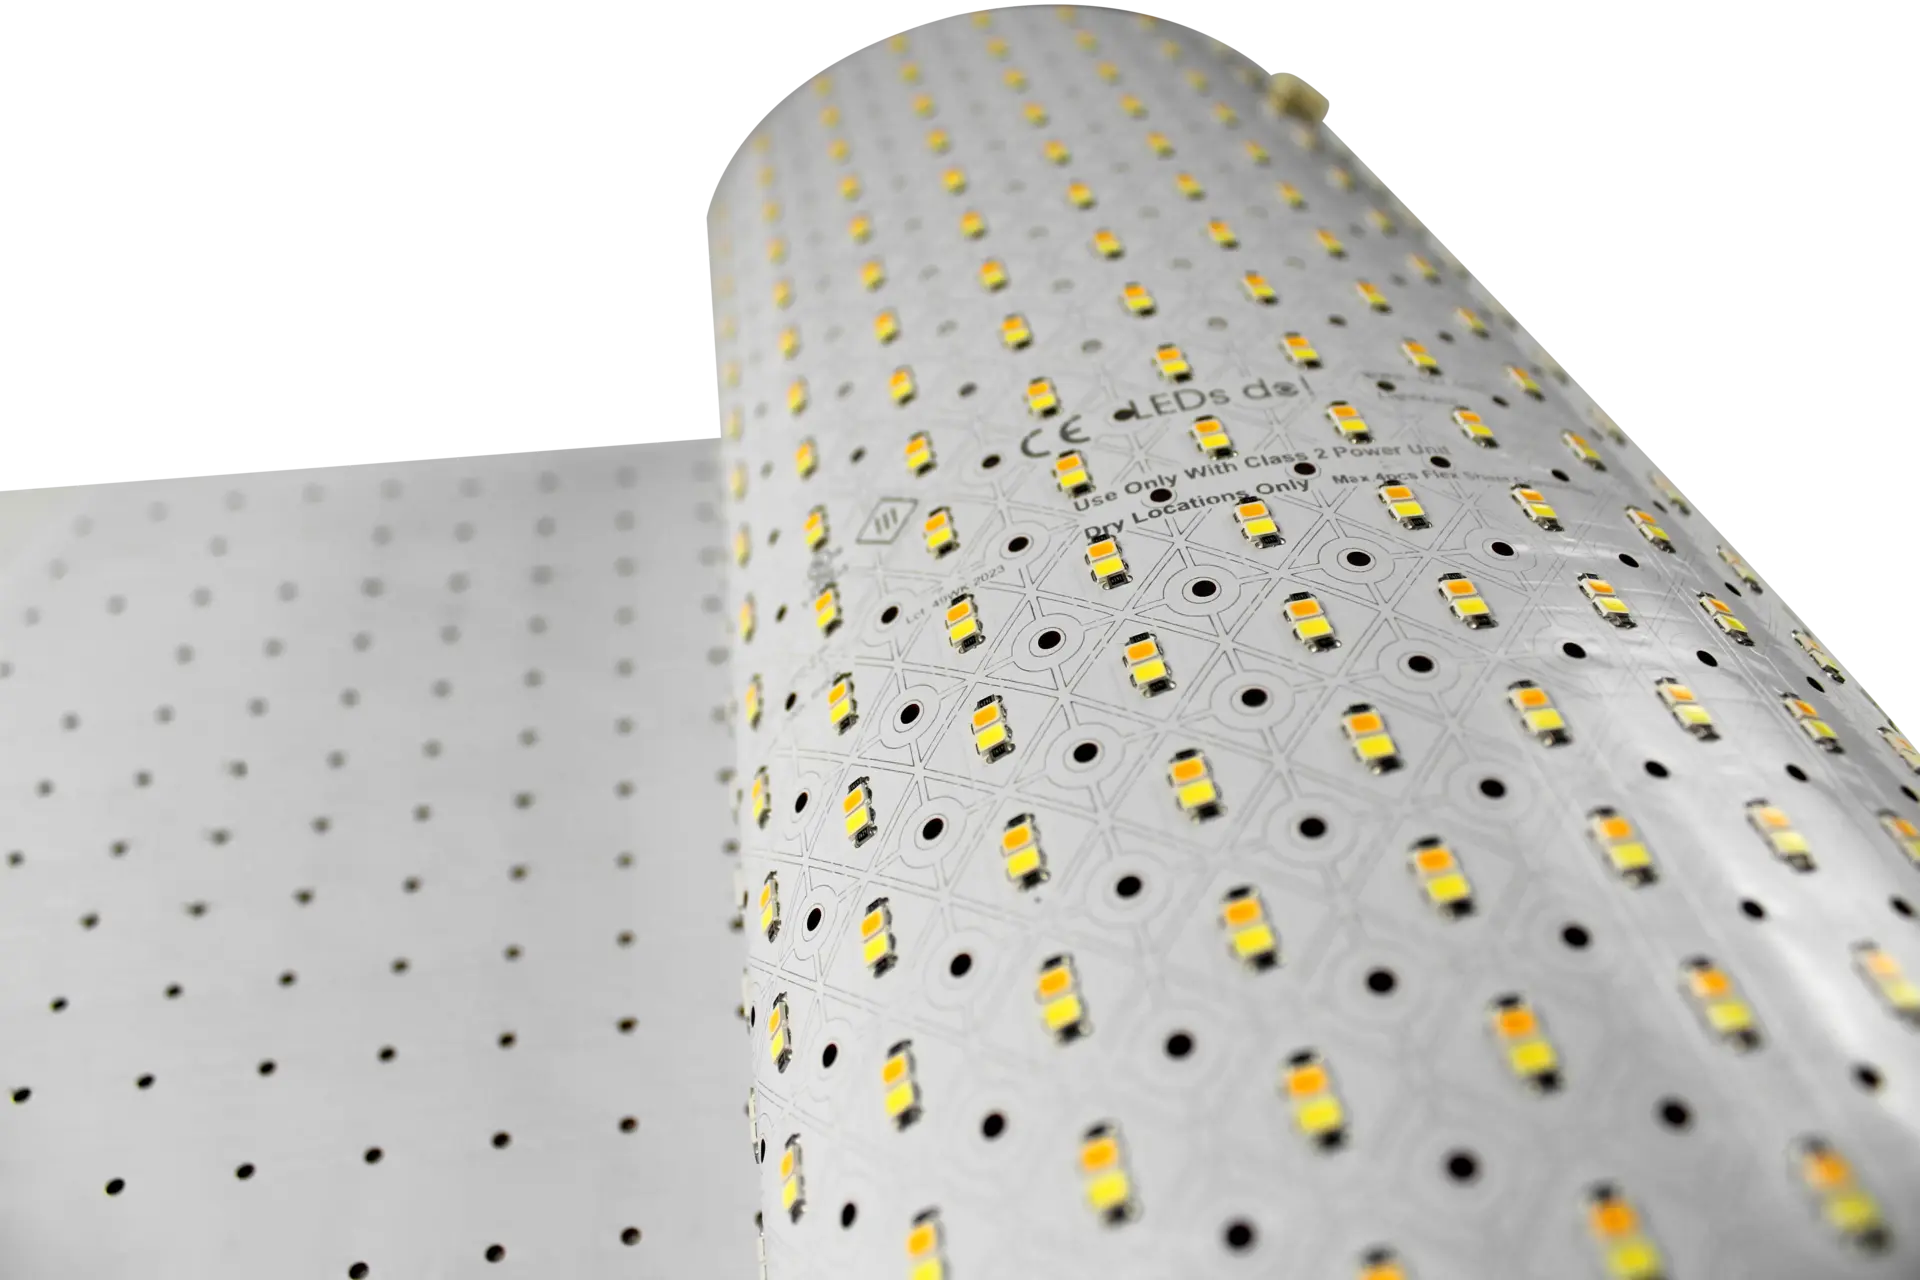
- Verify your sheet’s voltage (most are 12V or 24V DC).
- Match your power supply’s wattage to the connected load.
- Choose between plug-in adapters (easy DIY) or hardwired transformers (permanent).
- Optional: integrate dimmers or smart controllers for brightness and RGBW control.
Mounting & Installing LED Sheets
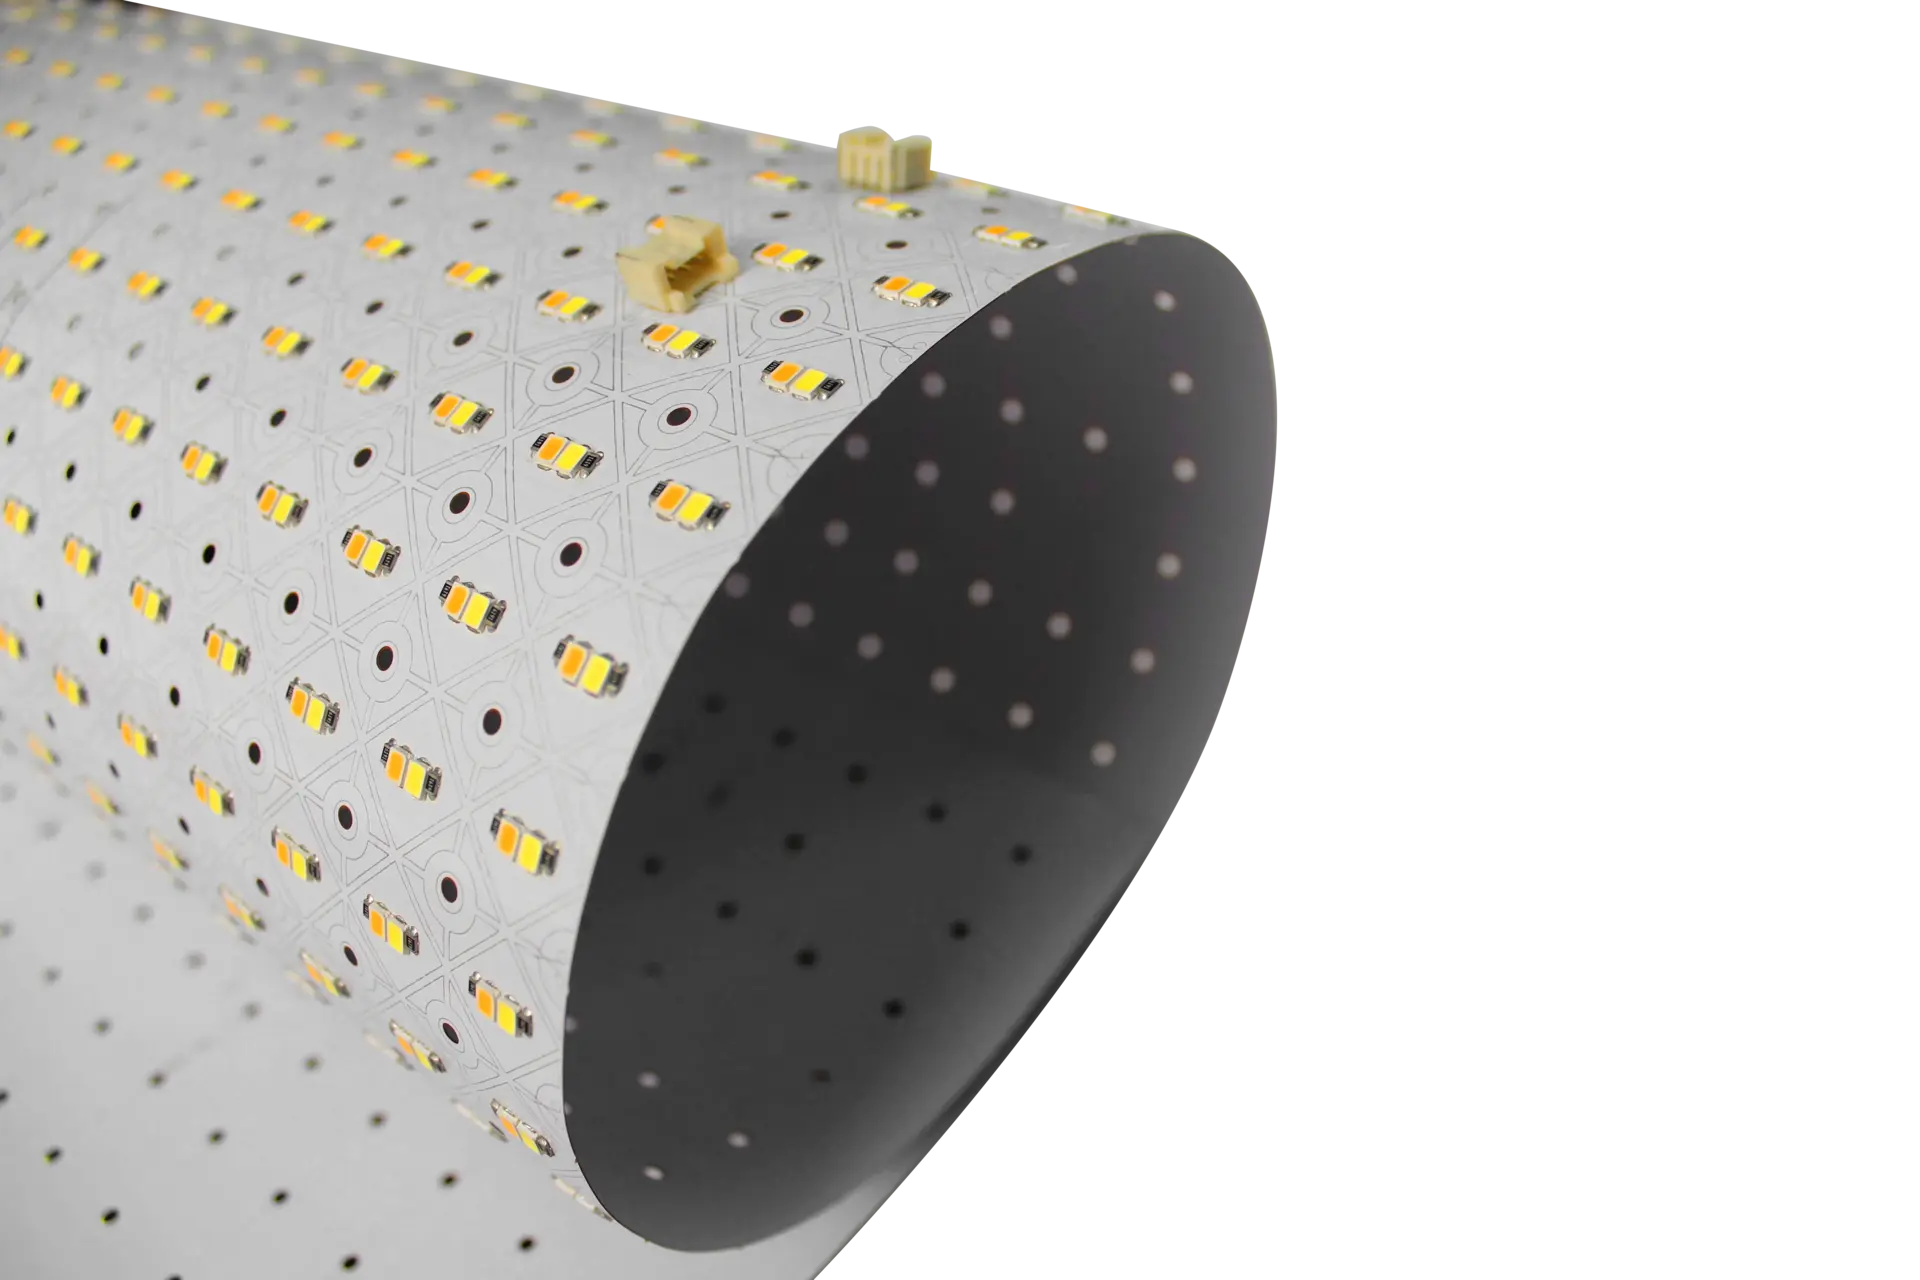
- Adhesive backing: peel-and-stick for smooth surfaces.
- Clips & screws: secure permanent fixtures.
- Magnetic backing: attach to metal surfaces. Prep surfaces by cleaning and drying. Avoid bending sheets beyond tolerance. Use diffusers for softer lighting.
Testing LED Sheets & Adjusting Brightness
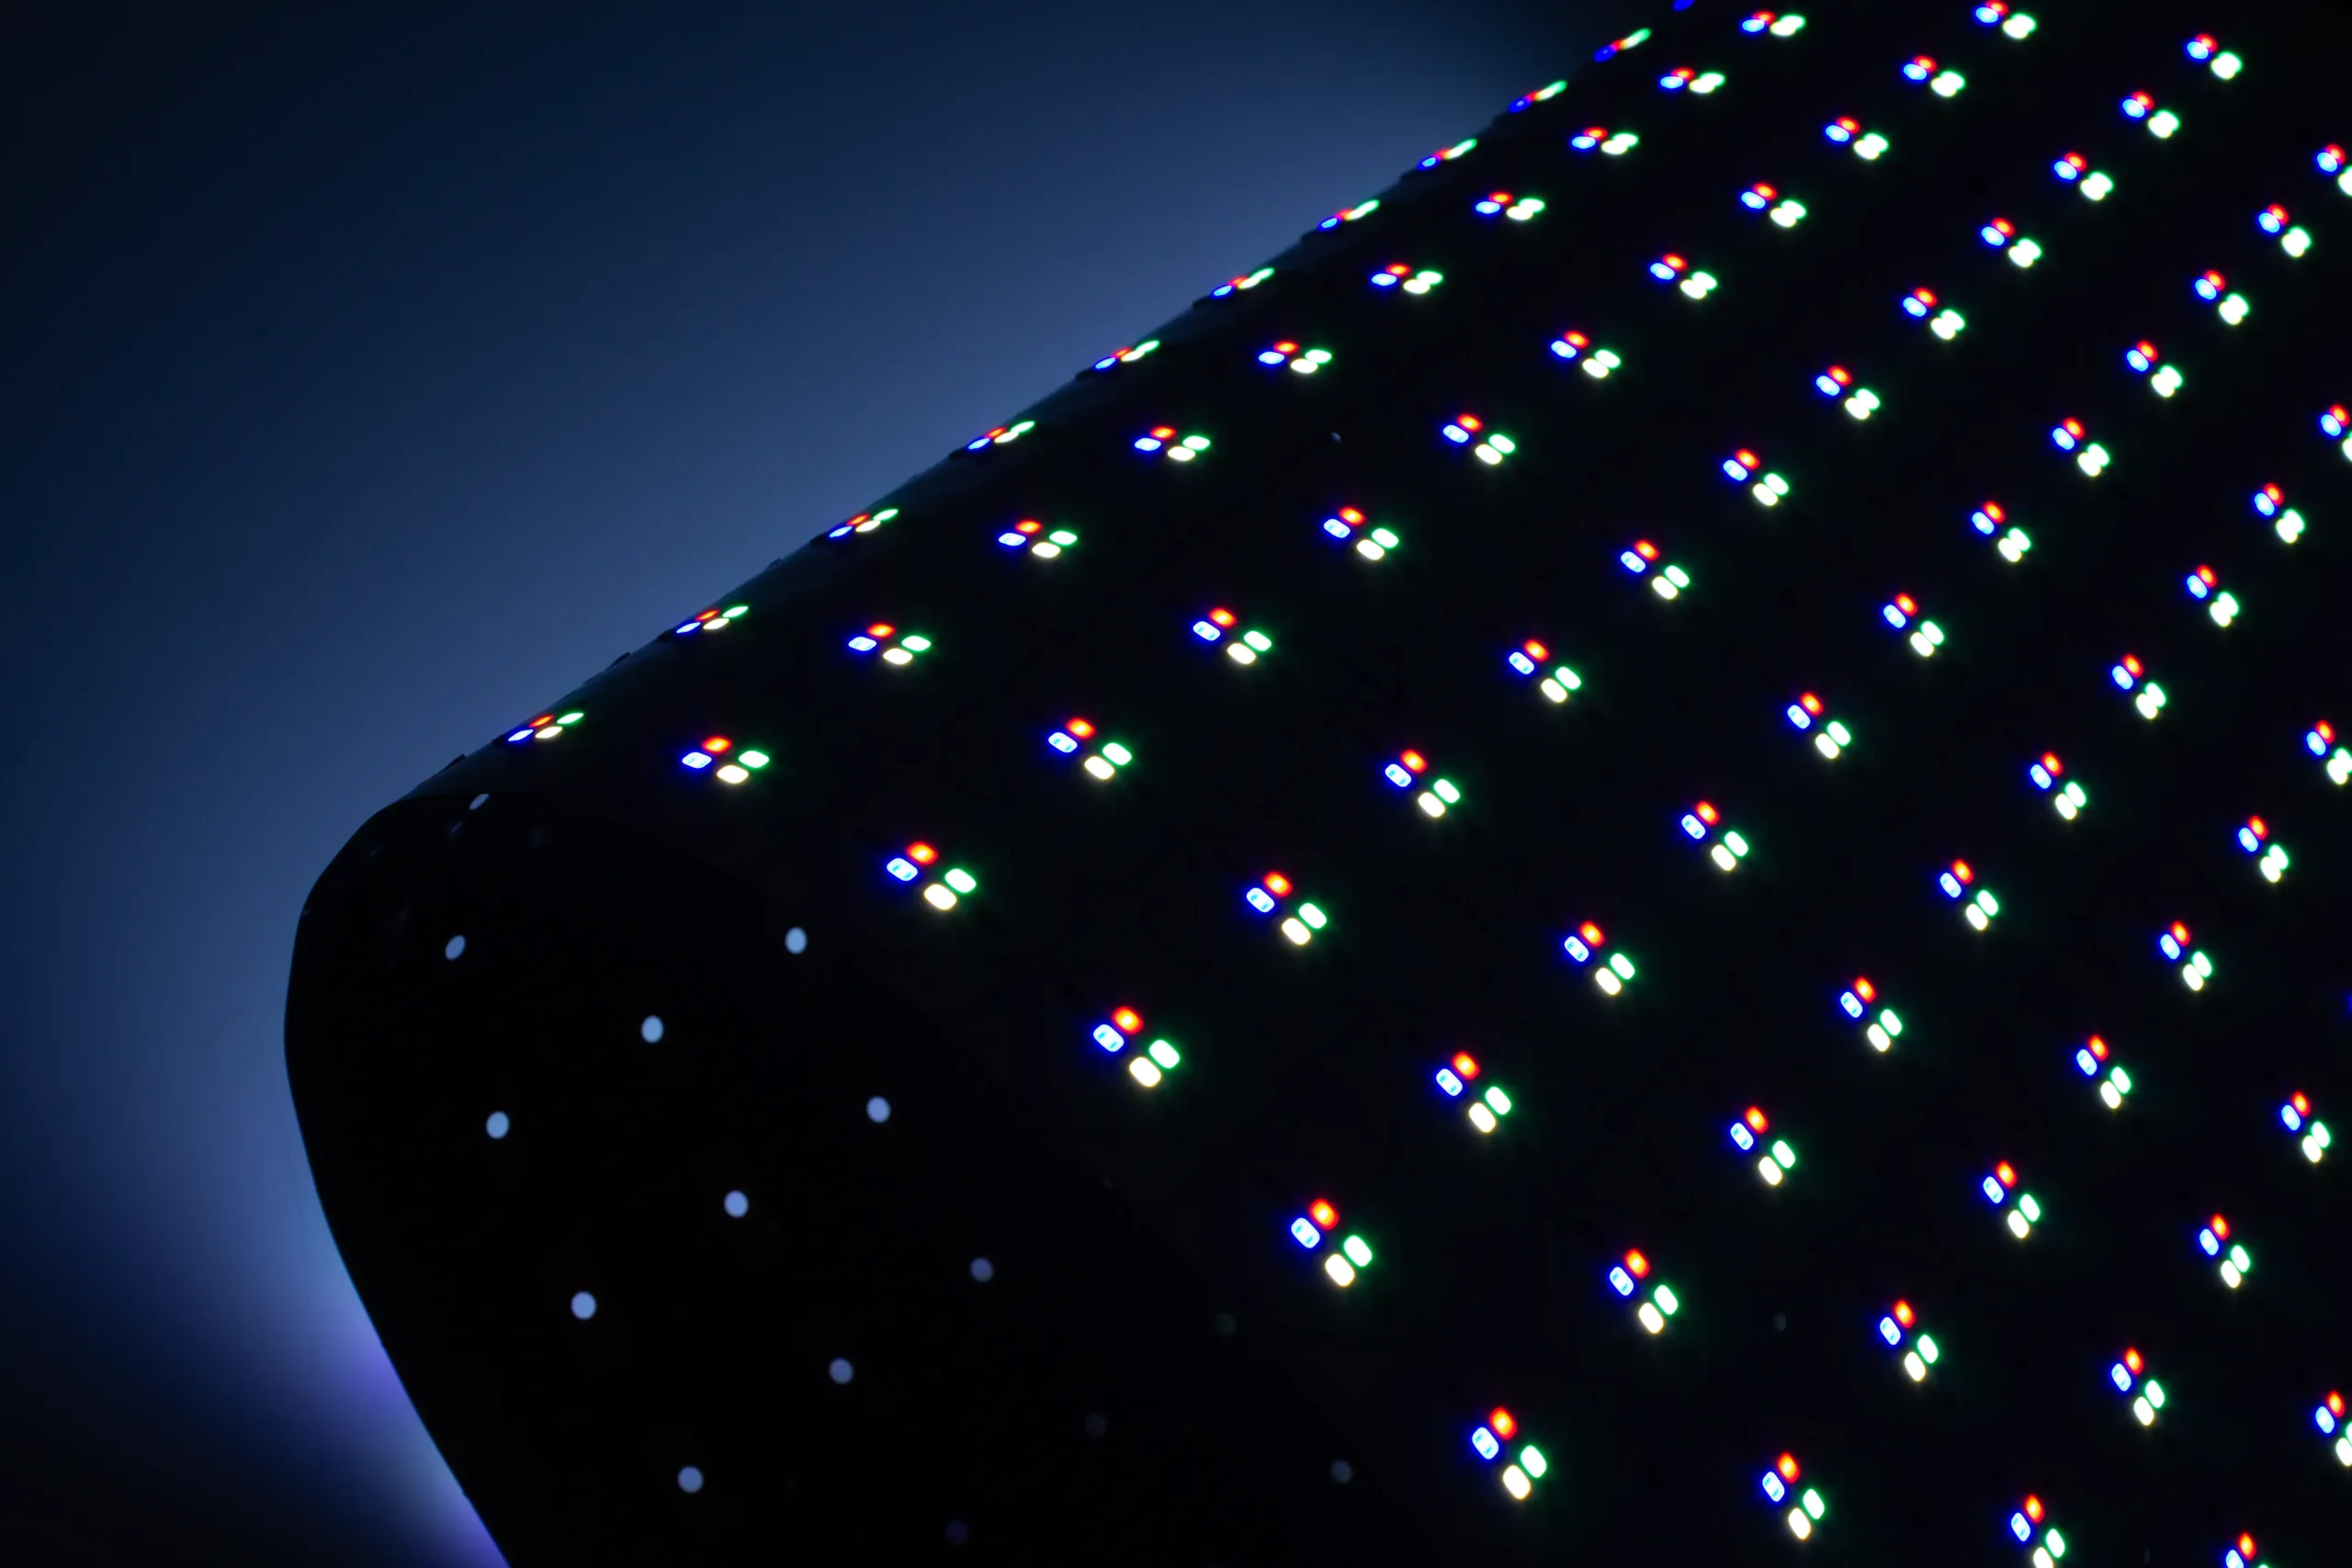
- Power up and check for uniform illumination (no dark spots).
- Use dimmers to adjust brightness or control RGBW/tunable color.
- Ensure consistent connections and voltage stability.
Key Takeaways for Installing Flexible LED Sheets
- Always cut along marked lines.
- Use connectors for quick setups, soldering for permanence.
- Confirm voltage compatibility.
- Choose the right mounting option for your surface.
- Test and adjust before final installation.
With proper handling, cuttable LED sheets transform ordinary spaces into professional, energy-efficient lighting displays.
Yes. Most cuttable LED sheets include pre-marked cut lines (often shown by scissor icons or dashed grids). Cutting along these lines preserves circuit integrity and allows you to resize sheets for signage, retail displays, or architectural accents.
Not always. You can use snap-on connectors for quick, solder-free installations. For permanent, durable setups—especially outdoors—soldering LED sheet wires is recommended.
Most LED sheets run on low-voltage 12V or 24V DC power supplies. Always check the manufacturer’s specs and ensure your power source can handle the total wattage of connected sheets.
LED sheets can be mounted using adhesive backing, mounting clips & screws, or magnetic backing. Adhesive works well for smooth surfaces, while clips and magnets are best for permanent or metal installations.
Yes. Many flexible LED sheets support dimming (via 0–10V or smart controllers) and color adjustment in RGBW models.
Take the Next Step With LED Sheets
Now that you know how to cut, connect, and install LED sheets, explore the Premium LED flexible sheet for product details, or learn more about performance in our technical guide to LED sheets.